

Composting 101
We’ve all heard of composting. We know it’s a good thing for the soil and it helps gardens thrive. We also know it’s good for the environment at large, (even if we don’t quite understand all of the benefits). Actually, getting started, however, can feel like a challenge. Thankfully, there are a few different methods, all requiring varying levels of commitment and physical space. So, if you do want to reap the beautiful benefits of composting, setting it up at home is easier than you think!
Maybe you’re part of the 27% of the US whose community offers composting as a service (lucky you!). If not, then you’ll be surprised at how simple it is to set up a home operation. You don’t have to wait for the day when local facilities can do it for you… composting is something you can do in your own backyard.
What is Composting?
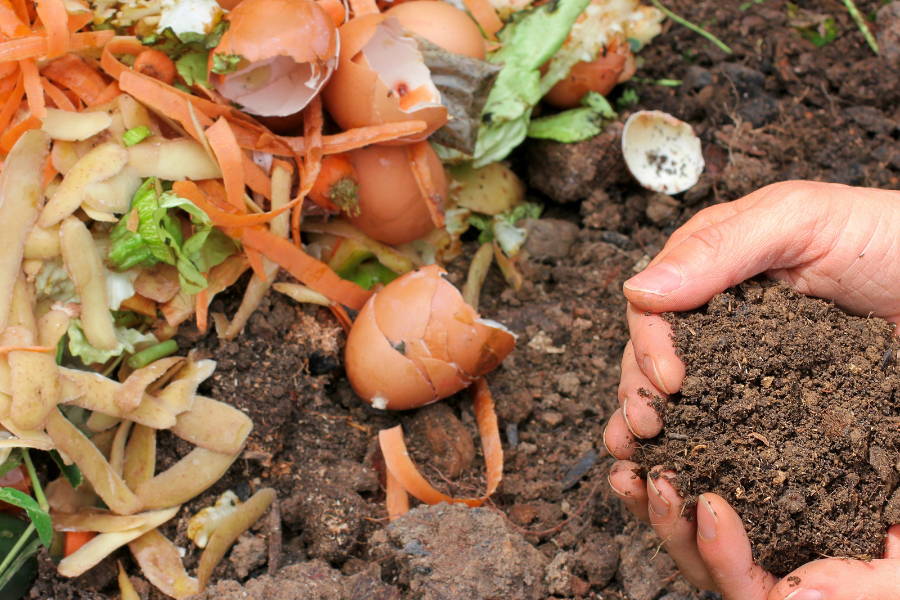
Composting is an important part of nature’s life cycle. Through a balanced makeup of nitrogen, carbon, air, and water, organic matter begins to decompose. This process attracts tiny microorganisms that live off of the nutrient-rich material. All of those woody parsley stems and carrot nubs that don’t make it into your salad bowl are exactly what these tiny creatures love to feast on.
During the composting process, your leftover organic scraps are discreetly consumed by all kinds of creatures, including worms, nematodes, and sowbugs. The leftover substance (meaning their waste material) becomes compost. The finished product is a dark and healthy garden fertilizer that kind of resembles chocolate cake. The nutrient load of compost is so rich, in fact, that farmers often refer to it as “black gold”.
Why is Composting Important?
Composting is a completely natural biological process. It’s one of the many ways that our planet has evolved to dispose of waste and reuse it as a valuable resource, and it’s been done for centuries. Compost material retains much higher amounts of water than regular soil, which means your lawn and garden require less water in order to flourish. In addition to keeping plants more hydrated, this water retention prevents erosion by reducing runoff.
Repurposing your kitchen scraps to make compost also saves you money. Food and yard refuse make up a significant portion of what gets tossed into the trash, and trash disposal costs money. Composting means fewer byproducts get thrown away, and less in the bin means more in your pocket.
The benefits of composting include:
• Better soil health with higher nutrients
• A reduction in greenhouse gas emissions
• It’s an efficient way to recycle nutrients
• Improves crop yields
• Reduces the need for pesticides and fertilizers
• Water retention minimizes the impact of drought
• Can rehabilitate contaminated soil
• Eliminates groundwater contamination from landfills

How to Start Composting Where You Live
Remember when we mentioned those lucky 27% who live in areas where composting services are available? It’s a pretty small number considering that 30-40% of food produced in the United States ends up being wasted. We’re obviously producing enough organic waste, so how do we start turning that into compost and utilizing it for the greater good?
Part of the issue is accessibility. A quick and easy way to find out if composting facilities exist where you live is to use the EPA’s Excess Food Opportunities Map. This will tell you if there’s a collection service or a dropoff location where you can dispose of your yard and kitchen scraps, and often have them turned into compost that you can collect. Even if you don’t plan to use it at home for fertilizer, you’re helping the environment by not adding organic matter to landfills that can contaminate land water and degrade the soil. And even better, no more stinky garbage.
Where these services aren’t available, or if you just want to get your hands dirty, then a little background knowledge of the biological process of composting will help you get started at home. Whether you just want to understand the process a bit better, go all in on a backyard composting setup, or simply learn about and admire the process of nature from afar, this guide will answer all of your questions.
Which Composting Method is Right for You?
The first step is to choose the right composting method for you. You can start by asking yourself the following questions:
• How much space do I have to compost?
• What kinds of waste do I have to compost?
• How much organic waste do I produce?
• How much time can I (realistically) spend composting each week?
Once you have an idea of the above, then you can match the method to your lifestyle. There are 4 types of composting to choose from, each with varying levels of space and time commitments.
Compost Collection/Drop-Off Service
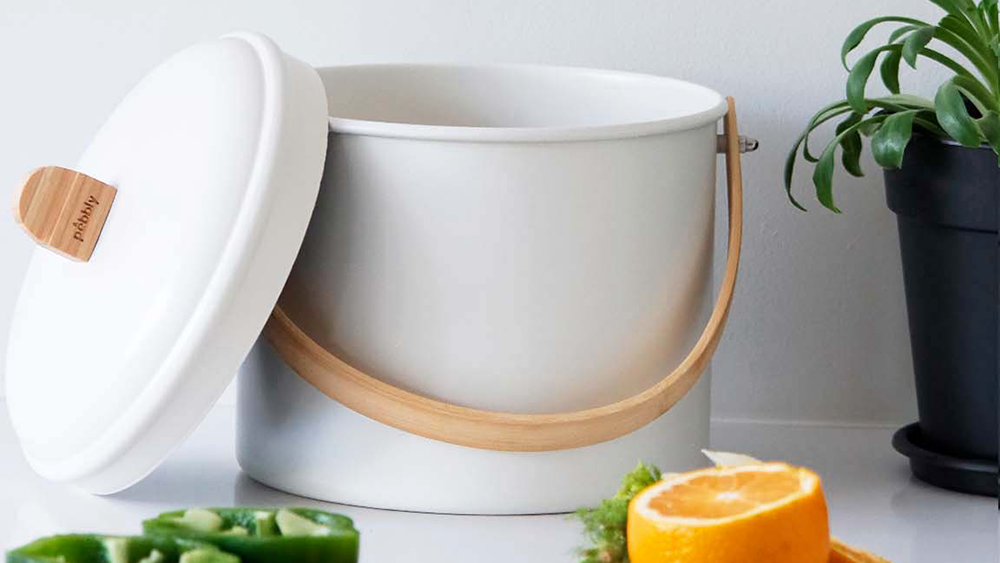
The Process: You simply add a compost bin to your kitchen that you can keep near your trash can, or under the sink and place organic food waste in it. The waste is periodically picked up by a local company where it’s then turned into compost.
The Equipment: A good compost bin is essential to collect food scraps in the kitchen. This is a must-have, no matter which type of composting you choose. Pebbly’s compost binis a plastic-free container made with sturdy and recyclable steel and a bamboo handle for a modern, minimalist look. The lid has a charcoal filter to neutralize odors.
The Pros: This method is easy and low maintenance since all you have to do is put the scraps in the compost bin. You’re reducing what ends up in your trash bin and saving landfills from groundwater contamination.
The Cons: If the service doesn’t allow you to pick up the finished compost, then you (and your garden) don’t get the benefits of using compost as fertilizer.
Cold | Slow | Passive Composting
The Process: Mother nature takes her sweet time, breaking down organic matter at a natural pace. If you don’t have a large quantity of organic materials to compost, and you’re looking for minimal effort, then this is a good way to go.
The Equipment: A compost binin the kitchen, plus a larger box or bin (3x3- 5x5 are ideal) where the composting can take place. Use a sturdy pair of gardening gloves when handling composting materials in the large bin.
The Pros: This method takes minimal effort on your part, and you don’t (necessarily) have to think about the ratios of material that need to go in. You also don’t have to rotate the contents. Just bin it and forget it!
The Cons: Ready-to-use compost can take up to two years to be ready to use. The lack of oxygen can also create a breeding ground for pathogens. If temperatures are regularly below 66 degrees Fahrenheit, you won’t have enough heat to kill them off. This anaerobic (oxygen-deprived) environment means things can get smelly unless you incorporate a bulking agent like straw, woodchips, dead leaves, or sawdust.
Hot | Fast | Active Composting
The Process: This requires regular turning of the compost collection in order to generate heat. Heat accelerates the decomposition process. You have to think about the balance of high-nitrogen green waste (fruits and vegetable peels, eggshells, tea and coffee grounds) to high-carbon brown waste (ash, paper products, dried leaves) in order for the mix to properly decompose and attract the right kind of microorganisms.
The Equipment: A good compost binin the kitchen and a large closed bin or rolling drum for composting. You’ll also need a and a pair of gloves and a thermometer to make sure the temperature stays between 130-140 degrees fahrenheit.
The Pros: It’s much faster than cold composting, so you’ll end up with healthy fertilizer in about 2-4 weeks. For gardeners, hobbyists, and nature enthusiasts, it’s pretty exciting to watch nature work its magic.
The Cons: It’s the more time consuming option since you have to turn the mix regularly, and you have to consider the green/brown material balance. Also requires more physical space for the composting container.
Worm-Based | Vermicomposting
The Process: Specific worms, most commonly Eisenia fetida, or red wigglers, are used to quickly compost organic matter. You’ll need about one pound of earthworms to get started, and you can expect them to consume 1/4 pound of food per day. When they’ve eaten everything, then you can add more, and the cycle repeats daily.
The Equipment: A good compost binin the kitchen, then your chosen variety of vermicomposting container. These come in stacked units, or you make your own using a plastic storage bin with a lid. You’ll need a bit of soil, and some shredded newspaper or cardboard. For a helpful visual on how to layer your bin, check out this video to see vermicomposting in action.
The Pros: This method will result in exceptionally fertile compost. You also don’t need a lot of space for vermicomposting, so it’s perfect for people who live in apartments or small spaces. It’s an affordable way to start composting because the worms aren’t expensive and you can easily DIY a vermicomposting bin.
The Cons: It’s more maintenance in terms of temperature and environmental control. To keep the worms alive and active, the ideal temperature needs to stay between 55-85 degrees fahrenheit. Moisture levels should remain around 80%, and you want the pH to hover at around 7.0.
What Can You Put in the Compost Bin?
Good compost material generally consists of plant-based matter. This is a good rule of thumb to avoid compromising your mix. Things like meat and dairy can attract pests that aren’t necessarily beneficial to the helpful microorganisms who are keeping the pH, oxygen, and moisture levels in balance.
There are a few exceptions to the fruit and veggie rule, so here’s a quick list to help you know what can and shouldn’t be tossed into your compost bin.
YES! Put me in the compost bin:
• Fruit and vegetable scraps, raw or cooked
• Coffee grounds
• Tea bags (remember to remove the staple if applicable)
• Eggshells
• Wilted flowers, leaves, and grasses
• Shredded paper and cardboard that doesn’t have a shiny coating (any tape or non-paper material would have to be removed)
• Hair and nail clippings
NOPE! Put me in the regular waste bin:
• Fish bones/scales
• Meat products/bones
• Dairy products
• Cigarette butts
• Dust or lint
Pro-Tip: The smaller the scraps, the faster the compost process will take place. So chop things up before adding them when you can.
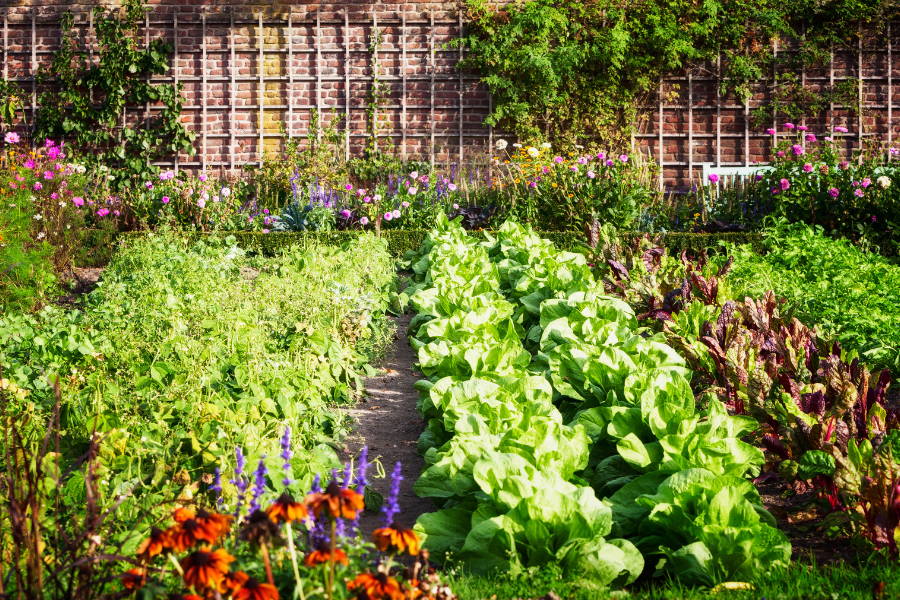
How to Use Your Compost
The “black gold” you end up with is like giving your plants the royal treatment. Compost is a potent fertilizer that helps your home garden thrive. It’s great for growing robust vegetables and herbs that naturally help detract pests. Mixing compost in with the soil of your houseplants is a totally free, renewable way to source beneficial plant food.
Composting is a win-win for you, your garden, and the planet. Plus, it’s an opportunity to teach yourself and your family about the circular process of life and how you can easily convert waste into renewable resources. All you have to do to get your hands on this precious plant food is get yourself a compost bin and choose the method that suits you best.
Along with other Zero Waste sustainability measures such as bulk buying food products, using refillable or homemade cleaning products, and making low environmental impact purchasing decisions, you’re helping our planet play the long game. It just takes one pebble to make a ripple, and just one ripple makes a wave.